


RES: Workspace Manager and creating bulk printers

I was talking to Grant Tiller about a customer that had +500 printers that had to be created in RES Workspace Manager and he told me there was a solution to create printers in bulk so it wouldn’t be a manual job. Here’s a description of the utility and how to use it:
STAGE ONE – Use the PRN2BB Utility to create a Building Block based on the Print Queues in Active Directory
Please note – the attached tool is NOT an OFFICIAL RES Software product, and it is NOT SUPPORTED by the RES Software Support Department.
There are many ways to create an xml file containing print queue information including other 3rd party vendors and printer manufacturers, so you may prefer to use your own tools.
The attached tool is merely a means of deriving an xml file from Active Directory.
Invoke the Installer of the PRN2BB Utility:
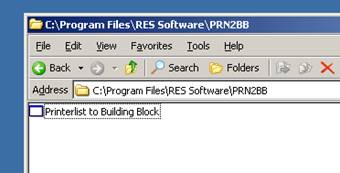
Please note that the installation does not require a reboot, and no icon or shortcuts will be created. Invoke the Wizard by navigating to C:Program FilesRES SoftwarePRN2BB and running Printerlist to Building Block.exe
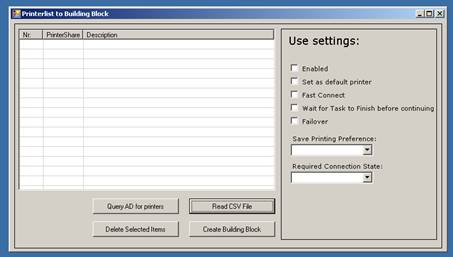
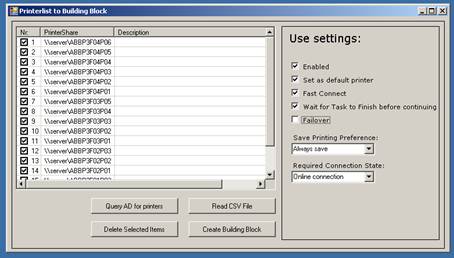
Click the Query AD for printers button
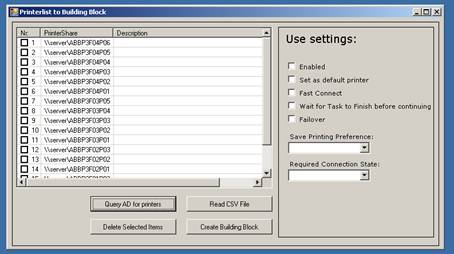
After some time (the more printers there are, the longer it will take) a list of print queues will be displayed
Select the printers that you would like to include in your building block, note that you are able to use CTRL and Shift keys to make multiple selections quicker
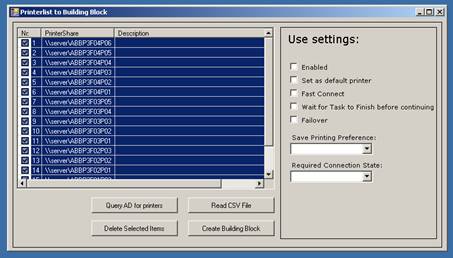
Select your options under the settings section
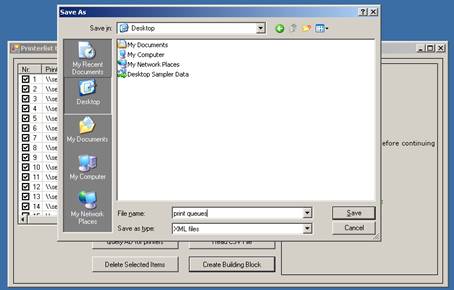
Click the Create Building Block button and choose the location that you want to save your building block to, and click Save.
That’s it – you now have a building block
The PRN2BB Utility can now be uninstalled, or you can create additional building blocks (if you are working in batches)
STAGE TWO – Modify the building block to replace your Print Server names with the Environment Variable we will define within the RES Workspace Manager Management Console
Refer to Q201913 – the official RES Software knowledge base article
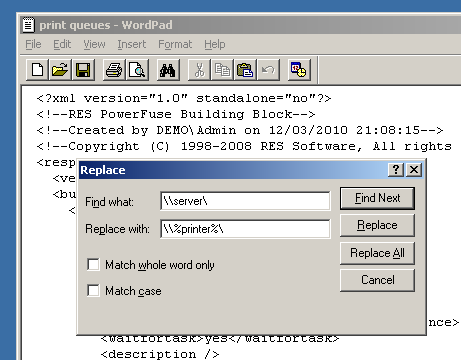
Normally, I would suggest that xml files are modified in notepad, as you do not run the risk of applying any formatting to the file. However, you cannot do a Replace All action with Notepad, so I am recommending the use of Wordpad instead. Please be careful though, and do not amend anything in the file unnecessarily
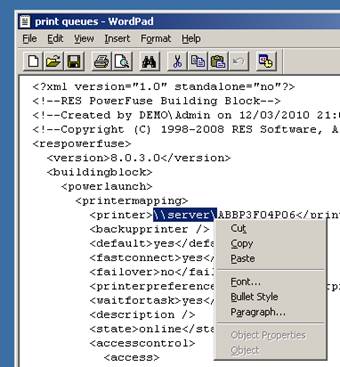
Right click your building block and Open With WordPad
Highlight the name of the print server that you wish to replace for the environment variable, and copy the value to the clipboard
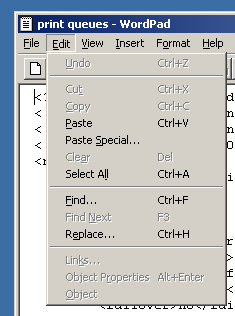
Select Replace under the Edit menu option
Paste the value from the clipboard into the Find what box. In Replace with, enter the value of your environment variable which is %printer% in my example
Choose the Replace All option and click OK to confirm that the operation is complete. Now save the file
That’s it – you have now modified your building block.
STAGE THREE – Configure the Environment Variables within the RES Workspace Manager Management Console
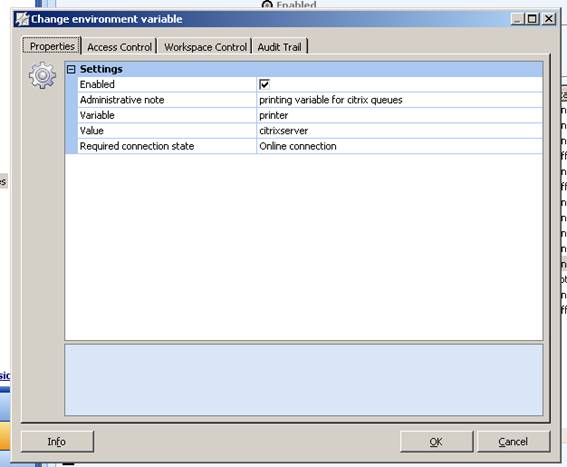
I have configured the variables as follows:
Variable name %printer%
- Value citrixserver which is the NetBIOS name of your Citrix print server
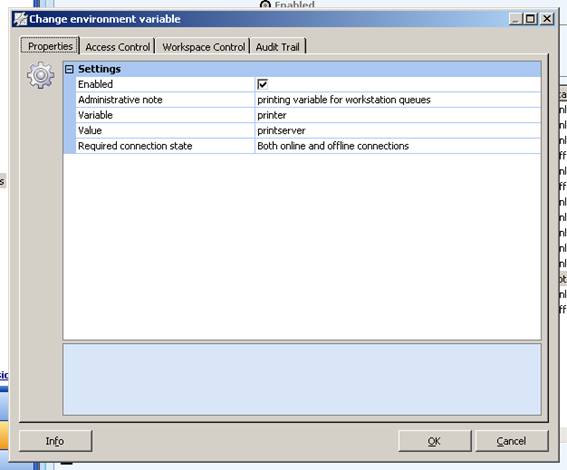
- Value printserver which is the NetBIOS name of your existing print server
Whilst the variables have the same name, the values will be toggled based upon the Workspace Control.
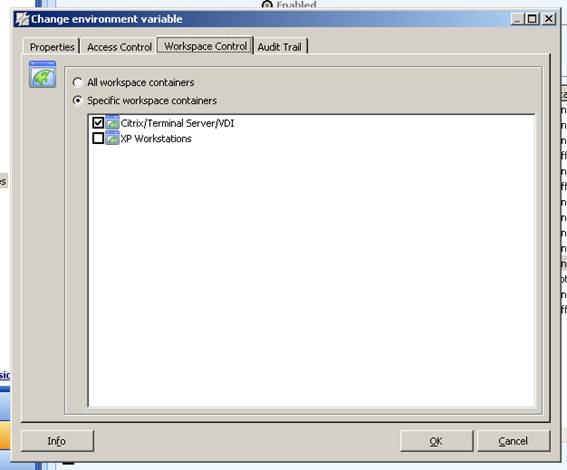
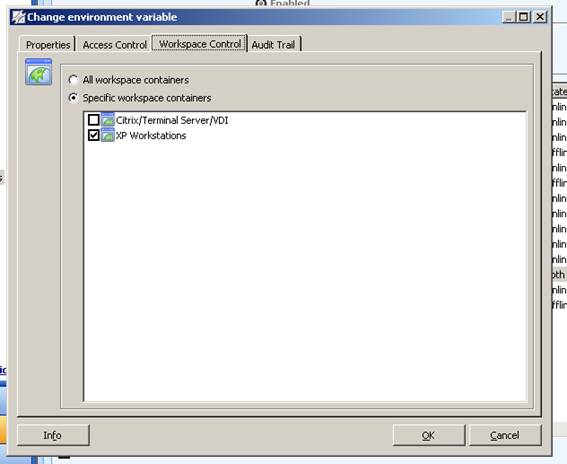
In my example I reference two Workspace Containers the first for my Citrix infrastructure, and the second for my Workstations.
Creation of the first variable which will reference the citrix server
Under Workspace Control, the workspace container should reference your citrix server
Creation of the second variable which will reference the existing print server (as used by the workstations)
Under Workspace Control, the workspace container should reference your workstations
That’s it – the Environment Variable has been created – referencing the two workspace container options means that you have now catered for both your workstations and your citrix infrastructure
STAGE FOUR – Configure the RES PowerFuse Management Console for printing
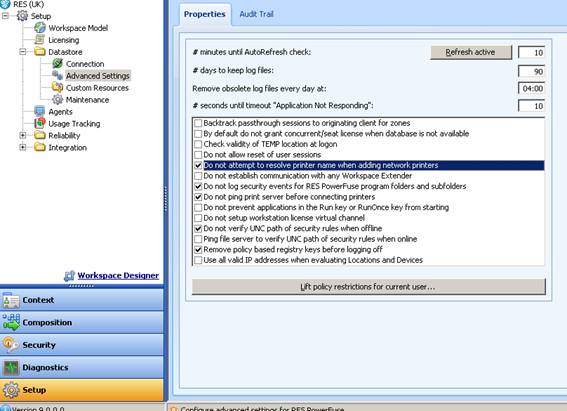
Because you are not referencing actual print queues from within the RES Workspace Manager Management Console, you need to prevent resolution of the printer name within the console. I recommend doing this anyone for the sake of performance within the console.
Navigate to Setup -> Datastore -> Advanced Settings then in the right hand pane select Do not attempt to resolve printer name when adding network printers
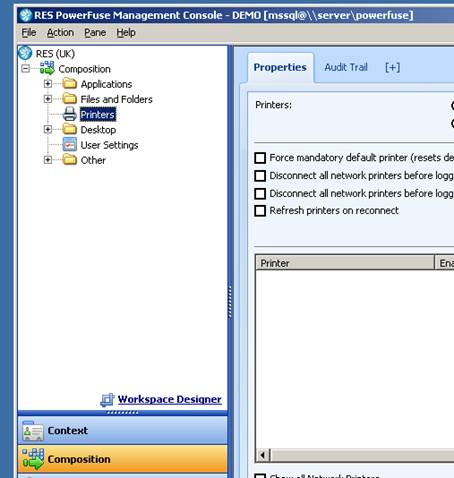
Within the RES PowerFuse Management Console navigate to Composition -> Printers
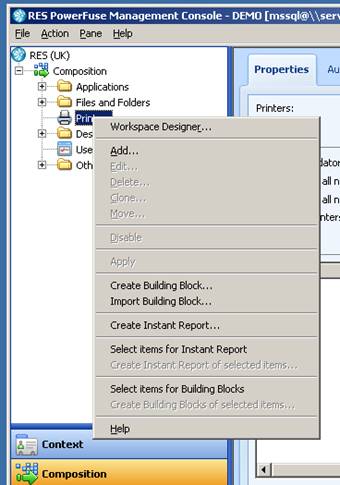
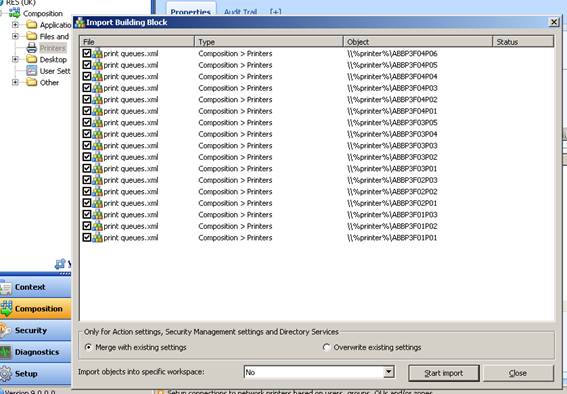
Right Click anywhere in the Console and select Import Building Block
Navigate to the modified building block from the last stage, and click OpenReview the print queues that you are going to import into RES PowerFuse
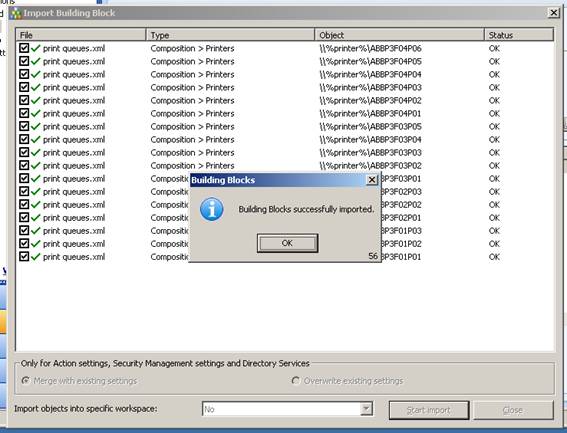
When you are happy, and have de-selected any queue that you do not wish to provision, click Start Import. Click OK to acknowledge that all of your queue have now been created within the RES PowerFuse Management console
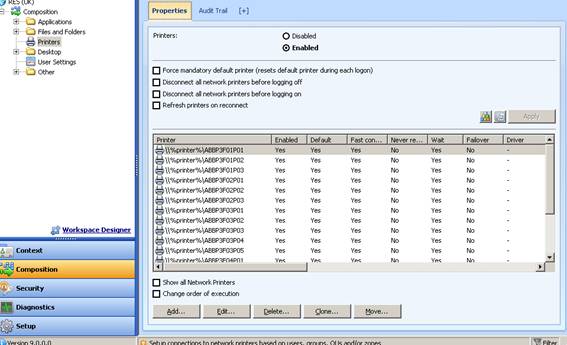
View all of your new print queues that reference the variable as opposed to the explicit queue name
That’s it – you now have all of your print queues setup within RES Workspace Manager


, and XenApp/XenDesktop 5, 6, 6.5, and 7.x!")


Cool, didn’t know that tool existed!
It saves me a lot of work while importing that bulk of printers, I guessed it would do to for others.